Dining Room Drama Unchained – Gorgeous Hanging Lights You’ll Love
August 27, 2025
Dining Room Wall Lamps to Illuminate Your Dinner Conversations
August 29, 2025
Why Working Under Cabinet Lights Matter for Your Kitchen
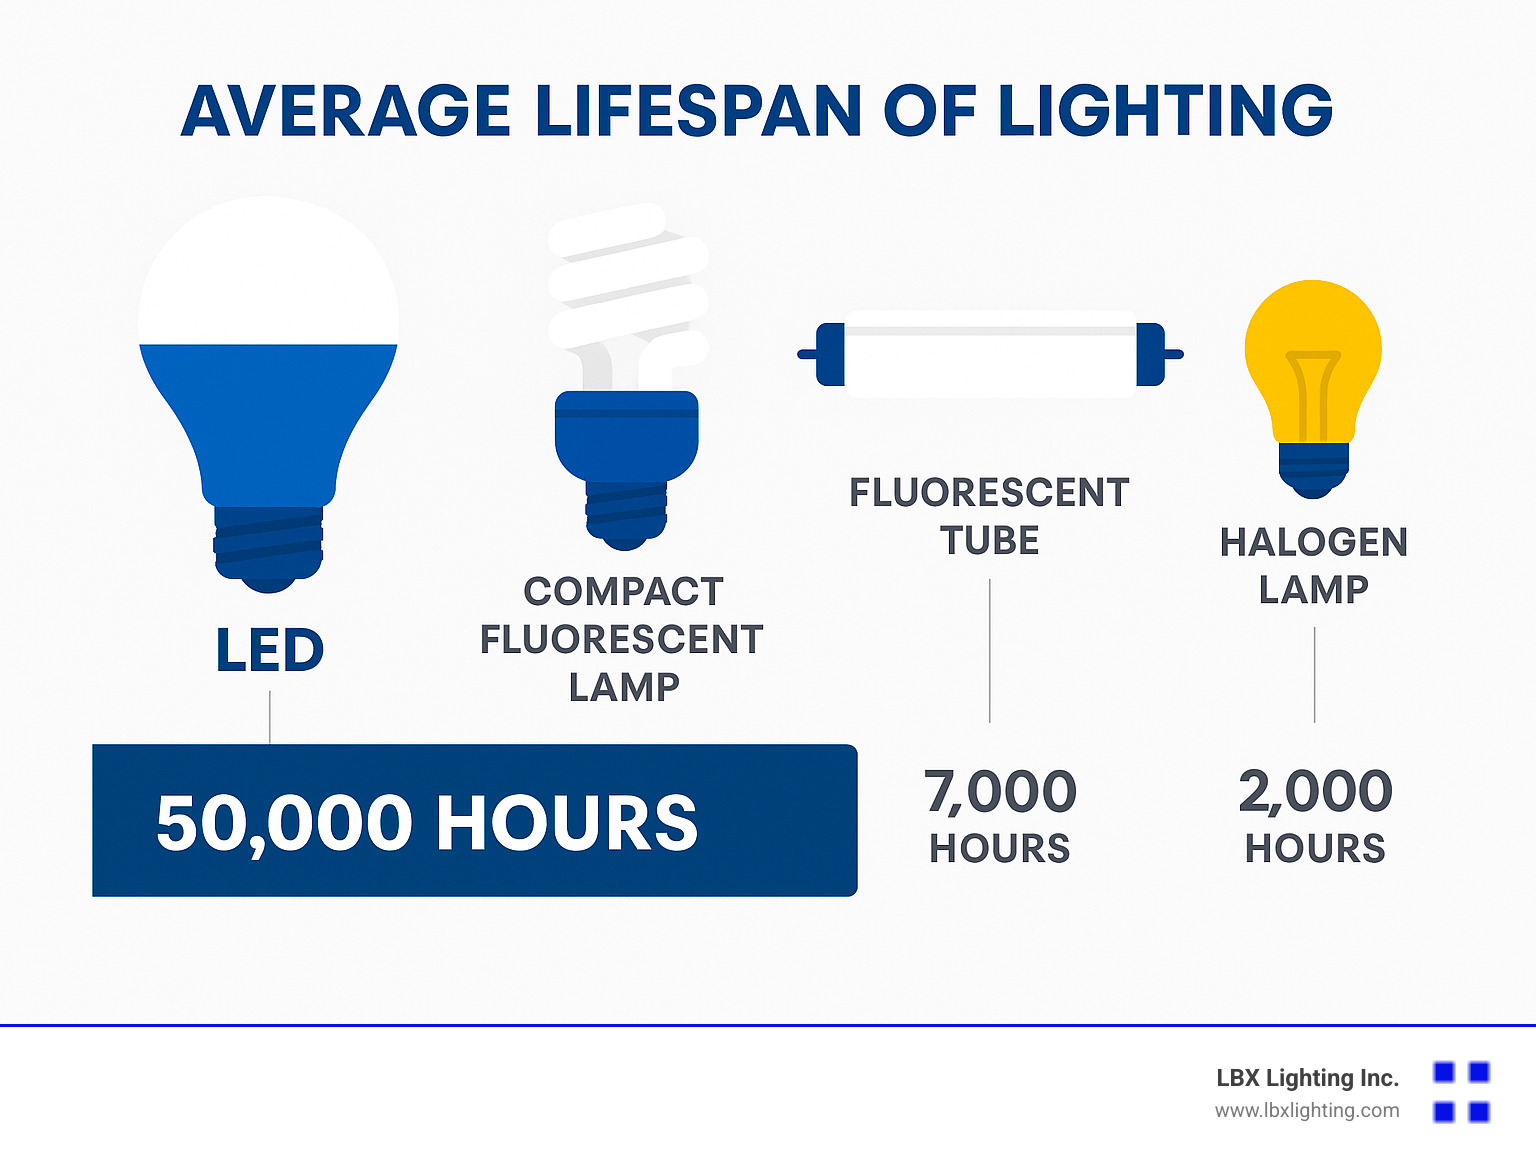
Under cabinet lighting repair can restore your kitchen’s functionality and ambiance without the cost of a full replacement. Common issues like flickering lights, buzzing sounds, or dead fixtures often stem from simple problems like loose connections, a bad connector, or a failing LED driver. Before you start, always turn off the power at the circuit breaker and inspect the wiring. Most problems are fixable, especially since LED lights can last up to 50,000 hours. However, for issues like scorched cabinets or outdated fluorescent systems, replacement is the safer choice.
I’m Michael Eftekhar, and with 30 years of experience serving Houston’s lighting needs, I’ve seen it all. Whether you’re facing a simple or complex under cabinet lighting repair, the right approach can save you time and money, restoring your kitchen’s perfect lighting.
Relevant articles related to under cabinet lighting repair:
Diagnosing Common Problems: What’s Wrong with Your Lights?
The first step in any successful under cabinet lighting repair is diagnosis. Common problems include flickering, dimming, buzzing noises, or lights that won’t turn on at all. Here’s how to pinpoint the cause:
- Visual Inspection: Look for obvious damage, exposed wires, or scorch marks. A scorched cabinet is a clear sign you need to replace the fixture, not just repair it.
- Check the Power Source: Start with the basics. Is the light switch on? Is the dimmer set to full brightness? Next, check your home’s electrical panel for a tripped breaker. Flip it completely off, then firmly back on to reset it.
- Isolate the Problem: Does the issue affect one light, a section, or the entire system? If lights are daisy-chained, a single bad connection can cause all subsequent lights to fail.
- Inspect Connections: Loose wiring is a primary cause of flickering. Carefully check all connection points at the fixture, in junction boxes, and at the power supply.
- Identify the Faulty Component: For older halogen or fluorescent lights, try replacing the bulb first. If that doesn’t work, the issue is likely the fixture’s ballast or transformer. For modern LEDs, a single fixture failure usually points to a bad connector or a problem with the LED driver (power supply).
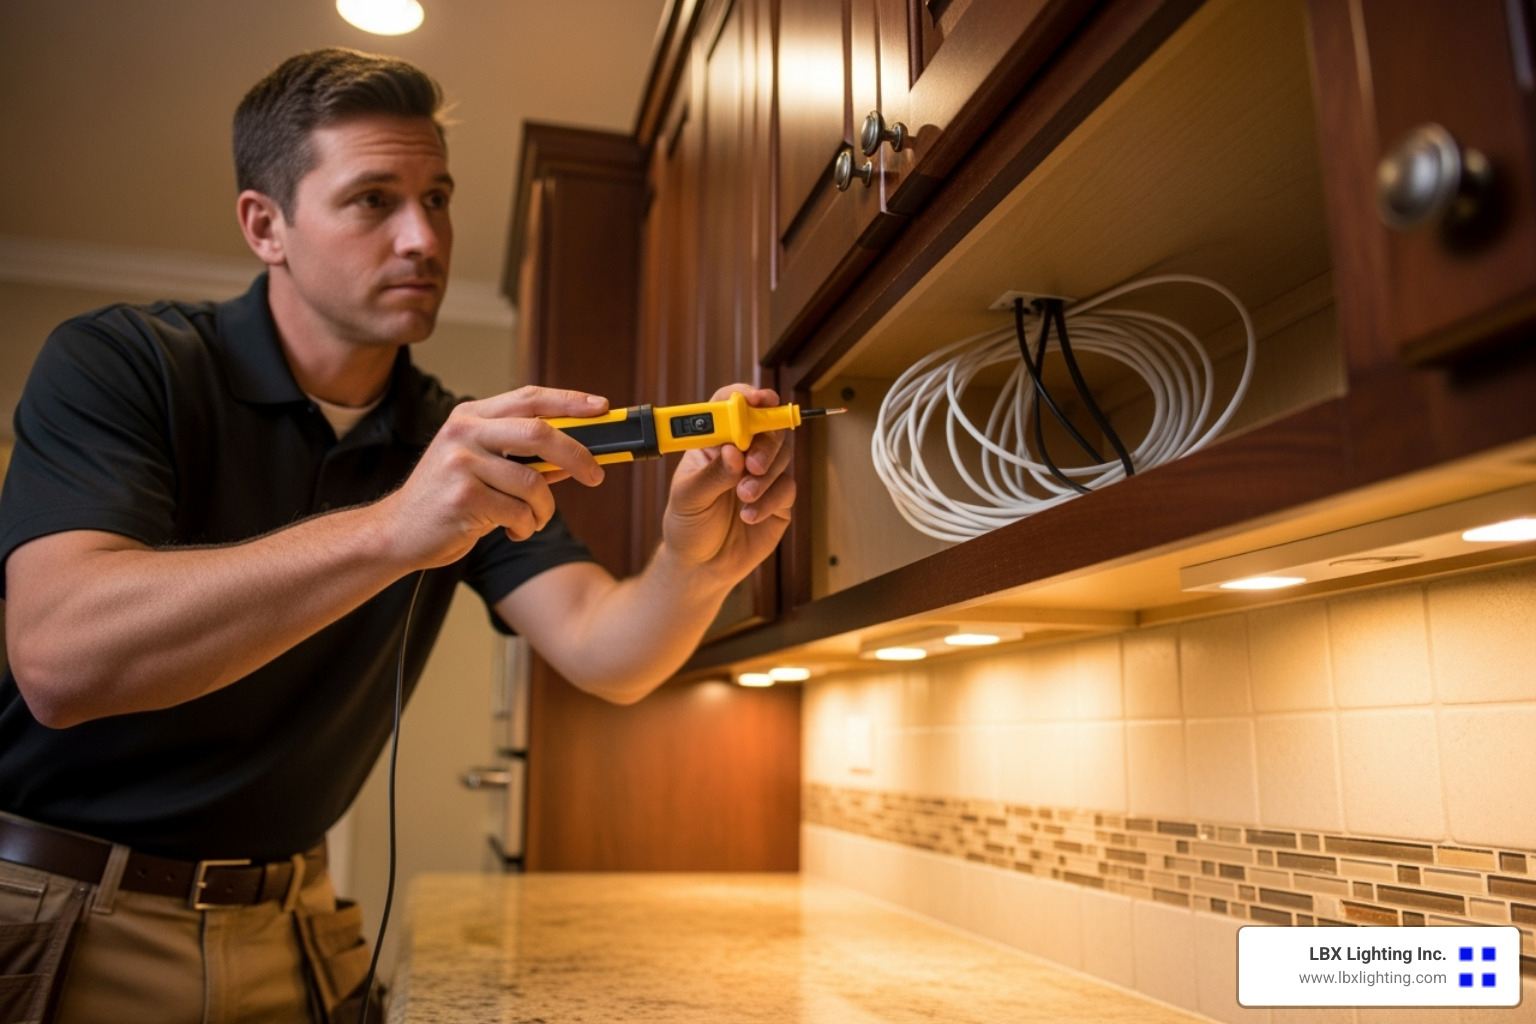
To safely check if power is reaching your lights, use a non-contact voltage tester. For more detailed guidance on working with electrical wiring, see our guide on The Safest Way to Test Electrical Devices and Identify Electric Wires!.
Essential Tools and Safety Precautions
Before starting any under cabinet lighting repair, safety is paramount. Always prioritize these precautions.
Safety First: Turn Off the Power!
This is non-negotiable. Before touching any wires, turn off the power at the circuit breaker. Use a voltage tester to confirm there is no live current at the fixture. Wearing safety goggles is also a smart precaution. For more detailed information on home electrical safety, consult a trusted resource like the Electrical Safety Foundation International (ESFI).
Must-Have Tools for the Job
Having these tools will make your repair project smoother and safer:
- Multimeter: To measure voltage (AC/DC) and test components like LED drivers.
- Non-contact voltage tester: For quick, safe checks to see if a wire is live.
- Wire strippers: To remove insulation from wires without damaging them.
- Screwdrivers: Both Phillips and flathead types.
- Needle-nose pliers: For handling small wires in tight spaces.
- Electrical tape and wire connectors: To insulate and secure wire connections.
For more information on lighting components, including different types of bulbs, check out our guide on More info about Light Bulbs.
A Step-by-Step Guide to Under Cabinet Lighting Repair
With your tools ready and safety precautions in place, you can tackle the repair. Most under cabinet lighting repair tasks involve fixing connectors, wiring, or the LED driver. For more insights into modern LED strip lighting, check out our resources on Residential LED Strip Lighting.
Fixing Connectors, Wiring, and LED Drivers
Unreliable connections and failing drivers are the most common culprits in modern LED systems. Here’s a consolidated guide to fixing them.
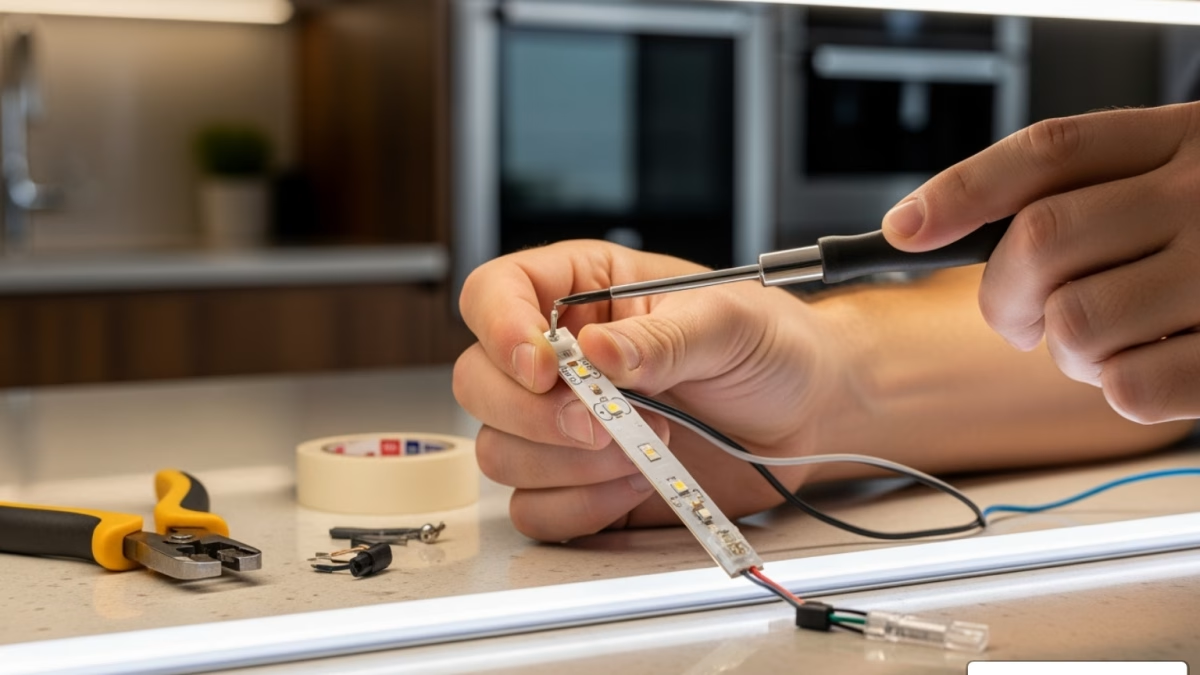
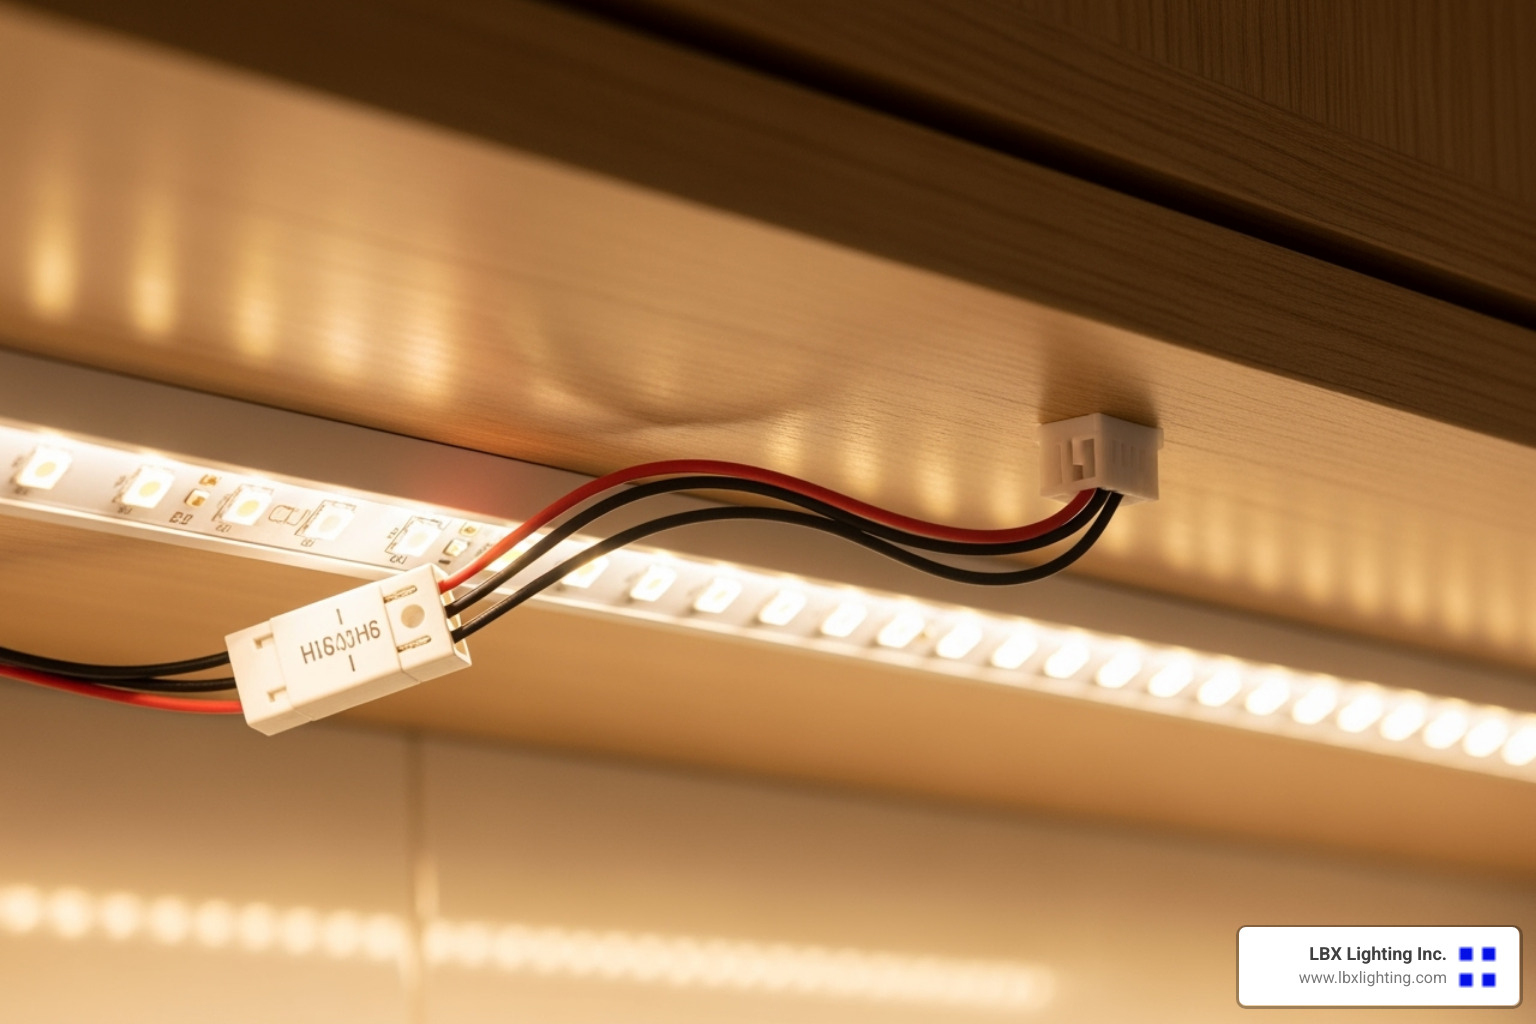
- Address Unreliable Connectors: Flickering is often caused by loose pressure-fit connectors. Gently wiggle each connector to find the problem spot. For a permanent solution, replace cheap connectors with higher-quality ones or, if you are experienced, solder the wires directly for the most robust connection.
- Inspect for Damaged Wires: Look for nicks or breaks in the wire insulation. Minor damage can be wrapped with electrical tape, but seriously damaged sections should be cut out and spliced with new wire using secure wire connectors.
- Test the LED Driver: If connections are secure but lights still fail, the LED driver (power supply) is the next suspect. Symptoms of a failing driver include flickering, dimming, buzzing, or a complete lack of power. To test it:
- Turn off the power at the breaker.
- Locate the driver. It may be in a cabinet, junction box, or built into the fixture.
- Use a multimeter to test voltage. First, check the AC input (should be ~120V). If there’s no input voltage, the problem is upstream (switch, wiring, or breaker). Next, check the DC output. If the output voltage doesn’t match the driver’s specifications (e.g., 12V or 24V), the driver has failed and needs replacement.
- Replace the Driver: When buying a new driver, it is crucial to match the specifications of the old one, especially the voltage and current output (mA). An incorrect match can damage your lights. Disconnect the old driver and wire the new one, paying close attention to polarity (positive to positive, negative to negative).
To learn more about common connectors used in all sorts of lighting systems, take a look at our detailed guide: Learn about common connectors used in lighting systems..
Advanced Under Cabinet Lighting Repair: The LED Driver
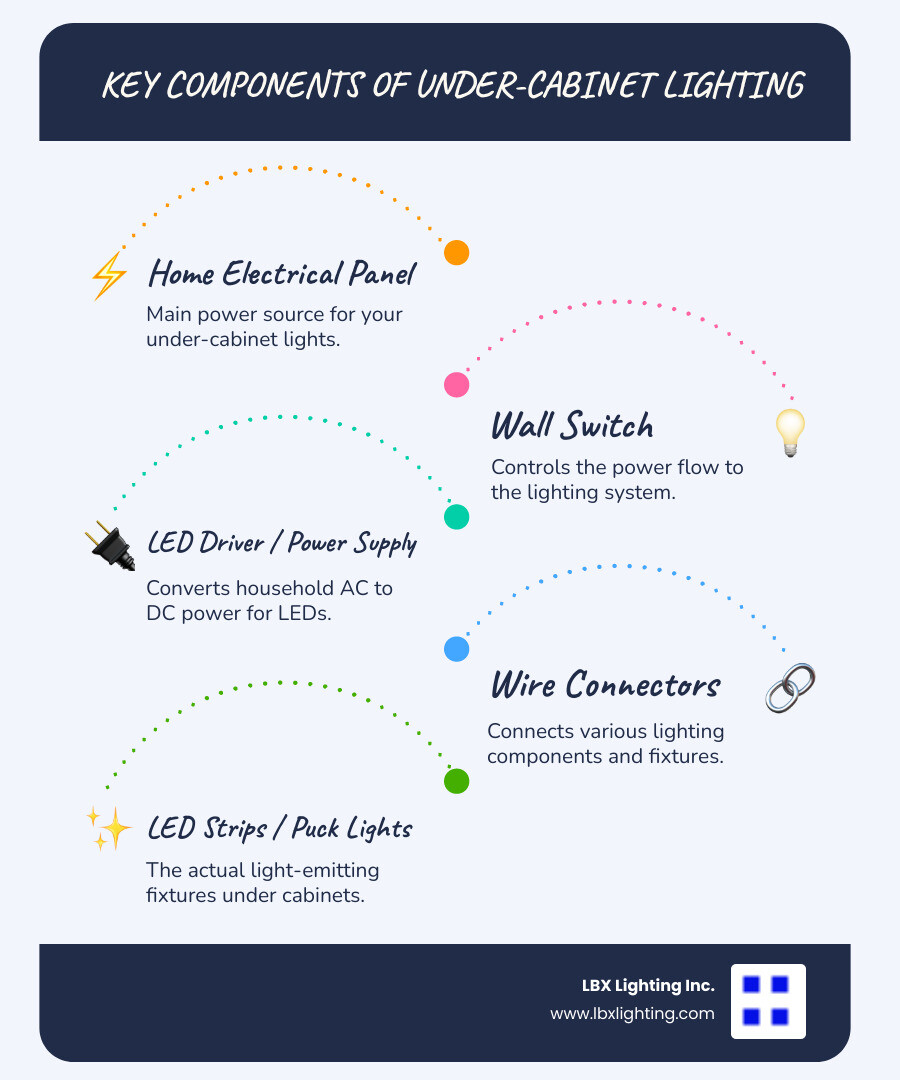
If your under cabinet lighting repair still isn’t complete after checking all your connections and wiring, the next major suspect in an LED system is usually the LED driver. You might also hear it called a power supply or transformer. Experts often say that “Drivers are more likely to fail than an LED,” and for good reason! This unsung hero of your lighting system is responsible for converting your home’s standard AC power into the low-voltage DC power that your delicate LEDs need to shine brightly.
How can you tell if your LED driver is giving up the ghost?
- Your lights might be flickering on and off randomly or simply not turning on at all, even when you know power is getting to the system.
- You might notice inconsistent brightness or a general dimming that isn’t controlled by your dimmer switch.
- Sometimes, the driver unit itself might emit a buzzing or humming noise, which is a clear red flag.
Here’s how to test and potentially replace a failing LED driver:
- Safety First (Always!): Before you touch anything, go back to your circuit breaker and turn off the power to the circuit. Use your voltage tester to double-check that the power is completely off at the fixture. This step is non-negotiable!
- Locate the Driver: LED drivers can be hidden in a few places. Some are built right into the light fixture, while others are remotely located. Check under your sink, inside a nearby cabinet, or even in a junction box tucked away. For low-voltage systems, a remote transformer is a very common setup.
- Testing with a Multimeter: This is where your multimeter becomes your best friend.
- Input Voltage (AC): With the power briefly turned back on (and exercising extreme caution!), use your multimeter to check the AC voltage at the driver’s input terminals. In North America, you should see around 120V. If there’s no voltage, the problem is upstream—like a faulty switch, wiring, or a tripped breaker.
- Output Voltage (DC): Turn the power off again for safety! Disconnect the wires leading from the driver to the LED strip. Now, turn the power back on. Use your multimeter to measure the DC voltage coming out of the driver. This reading should match the voltage listed on your driver (e.g., 12V or 24V). If the voltage is significantly lower, fluctuates wildly, or is non-existent, your driver is almost certainly the problem.
- Matching Specifications: If you’ve identified a faulty driver, you’ll need a new one. This is crucial: make sure the new driver’s current output (often listed in milliamps, like 340mA) matches your existing driver or LED strip’s requirements exactly. The voltage range (e.g., 25-50V, 40-60V) should also be compatible with your LEDs. While a slight voltage range difference might be okay, the current output must match perfectly to avoid damaging your new LEDs or causing poor performance.
- Replacement: Once you have your new driver, carefully disconnect the old one and connect the new one. Pay close attention to polarity (positive to positive, negative to negative) and ensure all wiring is secure.
While this process might sound a bit technical, with the right tools and a careful, step-by-step approach, replacing an LED driver is a very achievable under cabinet lighting repair for many DIY enthusiasts. For those looking to dive deeper into understanding and installing modern residential LED strip lighting systems, we have plenty of valuable resources to guide you.
Repair or Replace? Making the Right Call
Deciding whether to repair or replace your under-cabinet lighting involves more than just the upfront cost. Here’s how to make the right call for your kitchen.
Consider replacement when:
- You have outdated technology. Old fluorescent or halogen systems are inefficient and can be a fire hazard (e.g., scorching from hot halogen pucks). Upgrading to modern LEDs improves light quality, saves energy, and offers a lifespan of up to 50,000 hours.
- You face repeated failures. If you’re constantly fixing the same loose connection or replacing the same failed component, a full replacement is a better long-term investment.
- The repair is too complex. If you’re not comfortable with the required electrical work, a professional replacement may be a better and safer option.
A repair is often the best choice when:
- The problem is simple. A loose wire, bad connector, or a faulty switch can often be fixed for under $50 in parts and an hour of your time.
- Your LED system is relatively new. A failure in a newer system is likely an isolated issue with a single component, making a targeted repair worthwhile.
The bottom line: If a simple under cabinet lighting repair can get your lights working reliably, it’s a smart move. But for old technology or recurring problems, investing in new fixtures pays off in performance and peace of mind. For help choosing new fixtures, see our Residential Lighting Solutions.
| Feature | DIY Repair (Minor Issues) | Full Replacement (DIY) | Full Replacement (Professional) |
|---|---|---|---|
| Cost | Low (parts only, often <$50) | Moderate (fixture cost, often <$200 per light) | High (fixtures + labor, potentially $500+) |
| Time Required | Quick (15-60 minutes) | Moderate (1 hour per light, 4 hours for full kitchen) | Varies (consultation, scheduling, installation day) |
| Skill Level | Basic electrical knowledge, comfort with small wiring | Intermediate electrical knowledge, comfort with hardwiring | None (expert handles everything) |
| Longevity | Extends life of existing fixture; depends on repair quality | New fixture provides full lifespan (50,000+ hours for LED) | New fixture provides full lifespan (50,000+ hours for LED) |
When to Call a Professional Electrician
While many under cabinet lighting repair tasks are DIY-friendly, some situations require a professional electrician for safety and peace of mind. Complex or hardwired systems, daisy-chained lights with hard-to-trace faults, and hidden transformers are often best left to an expert. An electrician also ensures all work complies with local electrical codes.
Signs You Need an Expert
Call a licensed professional if you encounter any of the following:
- Repeated breaker trips: This indicates a deeper circuit issue, such as an overload or short, that poses a safety risk.
- Scorch marks or a burning smell: This is an emergency. Turn off power at the main breaker immediately and call an electrician, as it signals a fire hazard.
- Unfamiliarity with wiring: If you’re unsure about the wiring, it’s always safer to defer to an expert. Guesswork with electricity is dangerous.
- Complex installations: Projects involving new junction boxes, cutting into walls, or integrating with complex switches should be handled by a professional to ensure the job is done safely and correctly.
At LBX Lighting Inc., we can help you decide the best course of action. For more professional insights, explore our Lighting Tips.
Frequently Asked Questions about Under Cabinet Light Repair
Here are answers to common questions about under cabinet lighting repair.
Why are my under-cabinet lights flickering?
Flickering is most often caused by a loose wire connection, a failing LED driver (power supply), or an incompatible dimmer switch. For older fluorescent lights, a failing ballast is the usual suspect. Start by checking all connections for tightness.
Can I replace just one puck light in a series?
Yes, most systems allow for single puck light replacement. However, be aware that if one has failed, others may soon follow. When buying a replacement, ensure it is compatible with your system’s voltage, wattage, and connectors.
Is it cheaper to repair or replace under-cabinet lighting?
It depends on the problem. A simple under cabinet lighting repair for a loose wire or bad connector is almost always cheaper. However, if a major component like a proprietary driver has failed, or if your fixtures are old and inefficient (halogen or fluorescent), replacing the entire system with modern LEDs is more cost-effective in the long run due to energy savings and longevity.
Your Houston Lighting Experts
We hope this guide has empowered you to tackle your under cabinet lighting repair. Fixing a flickering light or upgrading to energy-efficient LEDs can make a huge difference in your kitchen’s beauty and functionality.
However, some jobs are best left to the pros. That’s why LBX Lighting Inc. is here to help. As a Houston-based company, we are committed to providing exceptional residential and commercial lighting services. Our expert staff, competitive pricing, and focus on customer service make us a top choice for all your lighting needs.
Whether you need help with a tricky repair or are looking for the highest quality lighting fixtures in Houston, our experts are ready to assist. We’re here to make your home brighter, one light at a time.


